Home > All Tutorials > PowerPoint Graphics> Ballot Box in PowerPoint
Learn to create a 3D ballot box. Follow our simple step by step instructions to create this useful diagram for your business presentations.
The ballot box in PowerPoint you will learn to create today is:

Isn’t the graphic beautiful?
You can use the graphic to represent the concept of ‘choosing one among many options’. You may use it in your board presentations, marketing presentations, strategic presentations etc. Let us see how to create the graphic from scratch.
Step 1: Create a square
Go to Auto shapes menu and pick the ‘Rectangle’ tool. Hold the ‘Shift’ tab to draw a perfect square. Change the fill color and line color of the square to suit your requirement.

Step 2: Give 3D perspective to the shape
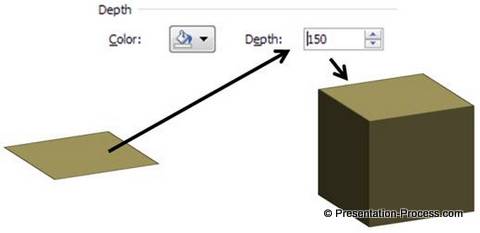
Right click on the square and go to ‘Format shape’ option. Under ‘3D rotation’ choose the preset called ‘off Axis 1 Top’ to get the following result:
 Go to ‘3D format’ option and increase the depth of the shape to get the cube shape as shown below:
Step 3: Create a slit on top of the box
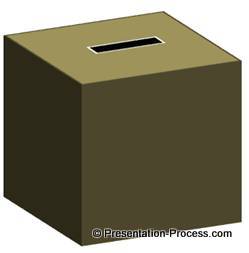
The next step is to create a rectangular slit on top of the box to drop the votes. For this, draw a regular rectangular bar using ‘rectangle’ tool in auto shapes menu. Fill the shape with black and make the outline as ‘white’.
Right click on this bar and go to ‘Format shape’ dialog box. Once again choose ‘off axis 1 top’ preset under 3D rotation option. You will get the following result:
 Place this slit on top of the box to get the following result:
 Related : 5 Creative T Chart Template Ideas
Step 4: Add text on the side
The last step is to add some text with 3D perspective on the side of the box. In our example, we chose to write the words – ‘Vote your choice’. Once you write your text, go to ‘Format’ -> Text effects -> 3D rotation options -> ‘Off axis 1 right’ preset. Place your text on the front side of the box. Finally, add some shadow to the ballot box in PowerPoint to get the following result:
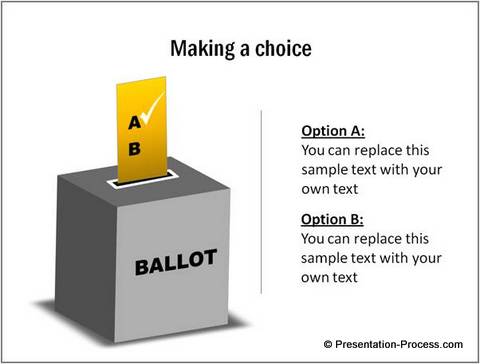
 Here is an example template that uses Ballot box graphic:
Source: See More such Comparison Templates from CEO Pack 2
Smarter option for business presenters:
It takes a lot of time and effort to create professional looking graphics from scratch. Most business presenters don’t have the time to create such high quality graphics for themselves. That is why we came up with our ‘PowerPoint charts and diagram templates packs for CEOs : 2 Volume Bundle’.
The two CEO packs have more than 1600 premium charts, graphs, graphics and diagrams to help you visualize every business idea imaginable. Just choose the template that matches your thought. Replace the sample text with your own text and your business slides get ready in no time. Creating professional looking business slides has never been easier.
Why waste time creating your graphics and diagrams from scratch when you can invest the time in creating better content instead? Please browse through our diagrams collection and see how the CEO packs can change the way you create your business presentations forever.
Related: Compare & Contrast Visualization in PowerPoint
