Home>PowerPoint Tutorials>Special Effects>Mirror Image in PowerPoint
Learn to create vertical mirror image. Go beyond the default options available and explore new possibilities.
Going beyond the default mirror image in PowerPoint:
PowerPoint provides you the option of applying ‘reflection’ to images and text. For example, take a look at the following image:
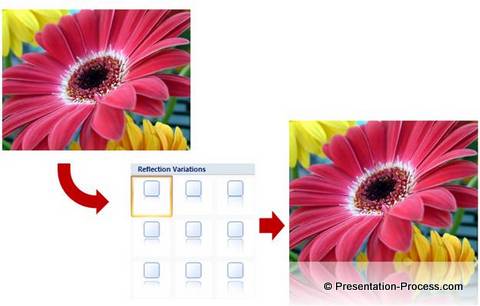
There is no doubt that ‘Reflection’ tool is useful to enhance visual interest of images on a slide. However, PowerPoint doesn’t provide you an option to reflect mirror images vertically or in any other angle. In this article, we will learn a simple way to overcome this limitation.
Creating Vertical reflection:
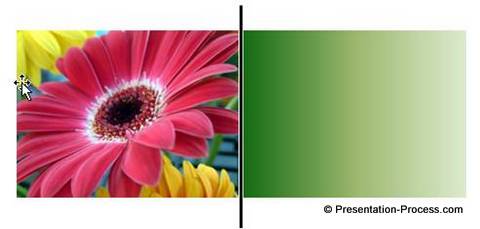
Make a copy of the image you want to reflect vertically. Click on the image and go to Arrange -> Rotate -> Reflect vertically. Place the image alongside the original image as shown below:
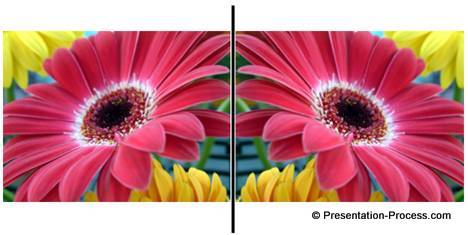 The image on the right doesn’t look like a mirror image yet. So, draw a rectangle of the same size as the image and place it on top of the image and remove outline.
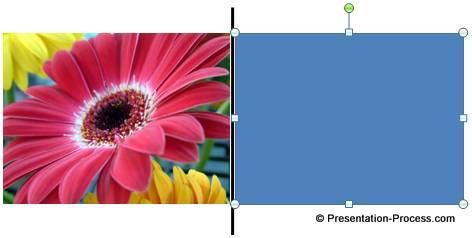 Right click on the rectangle and go to ‘Format shape’ option. Go to ‘Fill -> Gradient fill -> Presets -> Moss’. This gives you the gradient option with three stops.
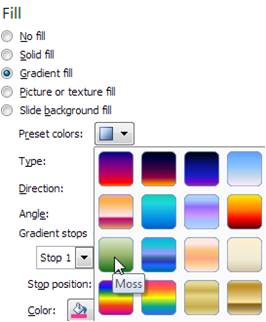 Change the ‘Direction’ of the gradient to ensure that the darkest color of the gradient points to the left of the rectangle as shown below:
 Apply the following values to the gradient:
Stop 1: Color – White: Transparency = 0%
Stop 2: Color – White: Transparency = 30%
Stop 3: Color – White: Transparency = 60%
The result will be as follows:
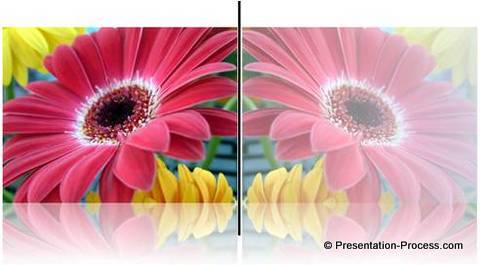
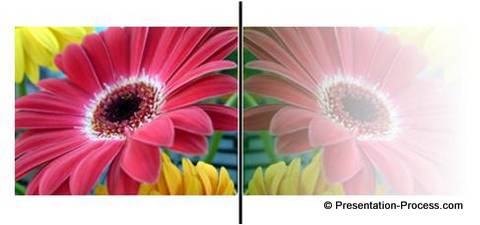 You can alter the transparency values and apply bottom reflection to the images as shown below:
 Related: Top 5 tips to get the best out of PowerPoint images
Creative variations:
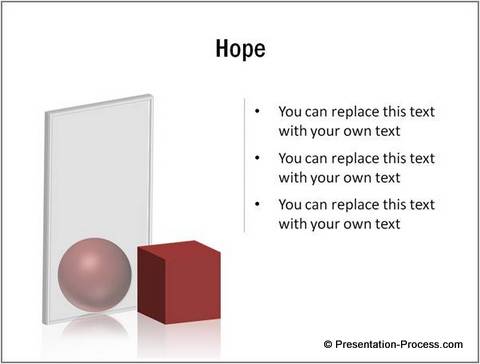
Once you learn the method, you can experiment with the possibilities. In the following example, we placed a rectangle with 3D perspective to represent a mirror. We changed the object in the mirror to represent the concept of ‘Hope’:
Source: Concepts from PowerPoint Graphics CEO Pack 2
Here is another variation of the idea:
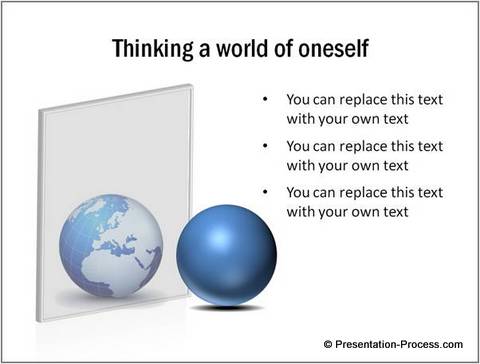 Thus, once you learn the technique you can unleash your creativity to come up with your own variations.
It takes a lot of time and effort to create professional looking graphics as shown in the examples above. If you are a busy business presenter who doesn’t have the time to create such high quality graphics for yourself, we have a solution for you. We recommend you take a look at our ‘PowerPoint Graphics and Concepts CEO pack 2‘ from which these examples are taken.
If you liked this article, please leave us a comment below. You will find many more such tutorials in this website.
Related: Merge Images like in Photoshop
Return to Main Special Effects in PowerPoint Page
