
Home > PowerPoint Tutorials > Smart Art > SmartArt Graphics in PowerPoint
Discover 3 ways to apply 3D to SmartArt Layouts’ in PowerPoint. Add visual interest to your graphics and make your business presentations remarkable.
Why apply 3D to SmartArt graphics in PowerPoint?
Most SmartArt graphics these days have become clichéd due to overuse. When you use the same old graphics in your presentation, you run the risk of losing your audience out of sheer boredom. So, you need a way to add visual interest to your graphics. In this article, you will learn three simple ways to add 3D to your SmartArt graphics and make your business slides stand out.
Idea 1: Add a floor and reflection
A quick way to make a 2D object appear as 3D is by adding reflection to the object. For the reflection to appear realistic, you need a floor on which the object rests. So, when you add reflection to your 2D SmartArt graphic and place it on a floor – your graphic gets a 3D perspective.
Take a look at the following graphic template:
 The illusion of 3D is further enhanced by adding a couple of silhouettes next to the graphic. You can see how to create your own silhouette here and how to add more professional floors for graphics here >>
Idea 2: Add a 3D perspective
Let us take 2D graphic to convert into 3D:
 Right click on the graphic and go to Format shape. Go to 3D rotation -> Perspective -> Perspective Relaxed.
You get a 3D version of your graphic when you add some depth. Here is the 2D graphic converted to 3D:
 Related: More Features of SmartArt you never knew
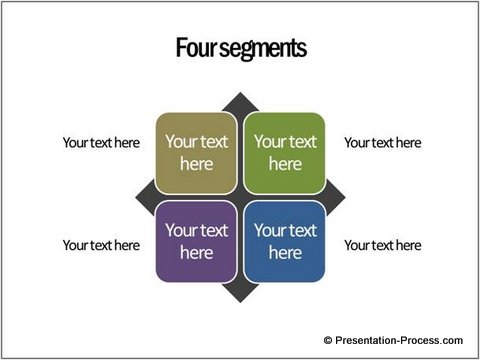
Idea 3: Add 3D effect to key parts of the graphic
Take a look at the following 2D SmartArt graphic of radial list relationship:
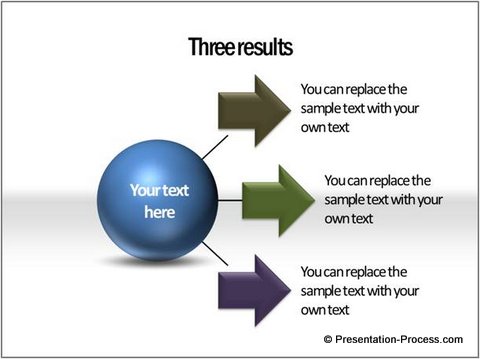
 You can choose to convert the circle into a sphere to give the graphic a 3D feel. Here is the result of the conversion:
 You can find the tutorial to create a 3D Radial diagram using Smartart here >>
Of course, we added a shadow to the sphere and placed it on a floor to enhance the 3D appeal.
Thus, by applying simple effects, you can convert 2D SmartArt Graphics in PowerPoint into 3D.
More Attractive Graphics…
Attractive graphics have the power to grab and hold audience attention. They give confidence to the presenter and make the message compelling. However, creating professional quality graphics takes a lot of time and effort. Most business presenters don’t have the time to build such high quality graphics from the scratch.
That is why we came up with our ‘PowerPoint Charts and Diagram Templates Pack for CEOs’. The packs have more than 1600 premium charts, graphs, diagrams and graphics to help you visualize business ideas clearly and quickly.
All the diagram templates in the pack are fully editable. You just need to choose the right template that conveys your message and replace sample text with your own text. Your business slide gets ready in no time. Creating professional quality business slides has never been easier.

Why waste time creating your diagrams from the scratch, when you have such an elegant solution available off the shelf? Please browse through our diagrams collection and see how the CEO packs can change the way you create your business presentations forever.
Related: Create 3D bevel Effect in PowerPoint


