
Home > PowerPoint Tutorials > Special Effects > Torn Paper
Learn to create useful torn and burnt paper effects in half a minute in PowerPoint 2010, 2013 or 2016. Watch and learn from our video tutorial.
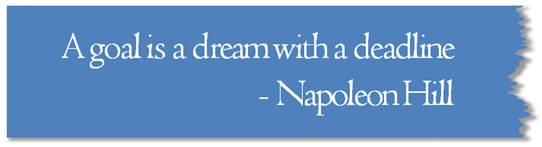
The torn paper effect you’ll learn to create is:

Uses of the effect:
The effect can be used in a number of ways. For example, it can be used to showcase ripped screenshot as follows:

Another very simple way to use it is to show clippings of a news item like a scrap of newspaper or note paper. You can even showcase famous quotes or highlight important text like this:
You can find more ways to highlight text here in this article >>
Inspiration for slides to display quotes:
Apart from using torn paper effect, there are a number of other ways to showcase quotes in your slides.
Some templates to draw inspiration from:
These templates are quite useful to highlight critical information, quote or to make an important announcement. You can use the ‘change picture’ option to replace this sample picture with the picture of your choice.

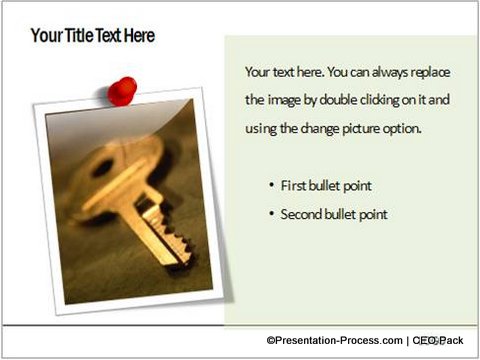
Source: Text Boxes from PowerPoint Charts CEO Pack 1
Now, that you’ve seen the options to display quotes in your slides…
Watch Tutorial Video on How to Create Torn Paper Effect
Steps to Create Torn Paper Effect in PowerPoint
- Draw a rectangle from the Autoshapes menu
- Fill Shape Color with Tan Background 2, Darker 25%
- Next select the Scribble tool from the menu and draw rough up and down lines over the rectangle. Ensure that the scribbled part is closed.
- Remove shape outline of the scribbled part
- Select the rectangle and the scribble and Shape Subtract to get the rough torn edges.
- Add a shadow effect and your ripped paper effect is ready!
Important tips:
To learn how to bring Combine shape command to your quick access toolbar, watch our earlier tutorials on how to create segmented Venn diagram.
Quick Note:
The Shape Subtract option as the name suggests works only with shapes.
If you want to cut pictures using the same technique, all you need to do is to draw a rectangle to match the size of the picture. Save the picture. Fill the rectangle with the picture using ‘shape fill with picture’ option.
You can find the detailed tutorial for a shape subtract trick here >>
Creating the ‘Burnt Paper effect’ in PowerPoint
You can take this torn paper effect to the next level by giving it a Burnt paper effect in PowerPoint 2010.
See the stunning results you can achieve in a matter of seconds by learning this technique.

- Continue from the torn effect we created earlier
- Right Click and Format the shape
- Add shadow effect as Inside Center to give it that darker edge
- Increase the BLUR option under shadow
- Cut and Paste Special the paper as a PNG image
- Set the Artistic Image effects (available in PowerPoint 2010 and higher) to complete your burnt paper to be used as background.
Conclusion:
Almost all the effects we teach in our tutorials can be created in less than a minute. These effects add that ‘little extra’ to make your ideas stand out.
Related: Professional PowerPoint Shadow Effects
Return to Top of Create Torn Paper Effect in PowerPoint Page