Home > All 2010 2007 Tutorials > PowerPoint Shapes > 3D Arrows in PowerPoint
Learn to create beautiful diverging 3D arrows. Follow our simple step by step instructions to create this useful graphic for your business presentations.
The graphic with 3D arrows in PowerPoint you’ll learn is:
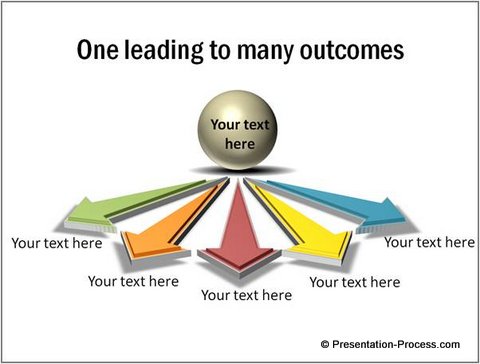
In this article, you will learn to create this useful graphic using the basic 3D tools in PowerPoint. We will also show you some variations of 3D arrows towards the end of the article. Let us learn to create the graphic from scratch….
Step 1: Customize the arrow shape
If you had observed closely, you’d realize that the arrows used in the graphic are not the usual block arrows available as part of the auto shapes options. They are created by customizing the PowerPoint shapes with Convert to Freeform option. Let us see how to create the shape.
First, draw a regular ‘right arrow’ using the relevant tool from ‘Block arrows’ option. Go to ‘Format’ tab in PowerPoint ribbon. Under ‘Edit shapes’ menu – click on ‘convert to Free form’ option. The shape is now fully editable.
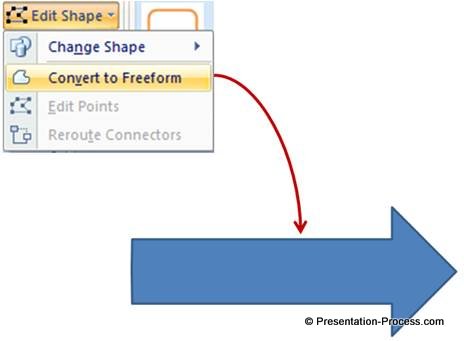 Right click on the centre of arrow’s base as shown in the following illustration and select ‘Add point’ option:
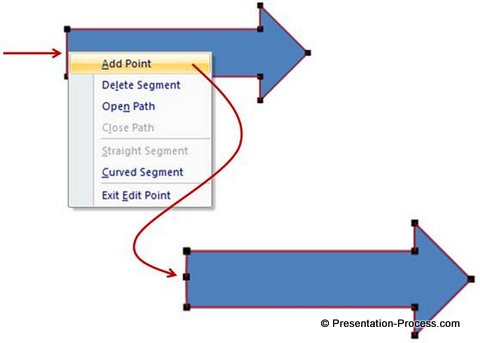 The next step is to delete the points on the two corners of arrow’s base to create our customized arrow:
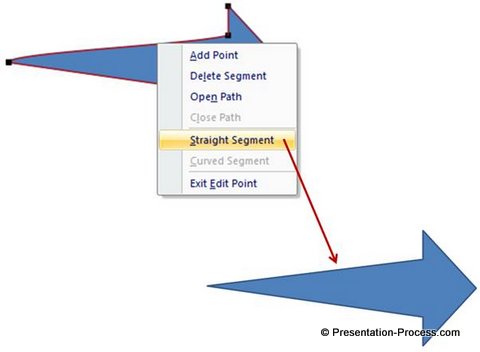
 Right click on the line segments and convert them into ‘straight segments’ where appropriate. The result will be as follows:
 Related: Interesting Layer Diagram Tutorial in PowerPoint
Step 2: Create the 2D base
The next step is to make copies of the arrow shape and arrange the arrows facing different directions as shown below. Use different fill colors to the arrows to add visual interest to the diagram:
 Select all the arrows and group them together.
Step 3: Give the arrows a 3D perspective
Right click on the group and follow these steps:
- ‘Format shape’ option.
- 3D rotation tab
- Select the preset called ‘Perspective relaxed’:
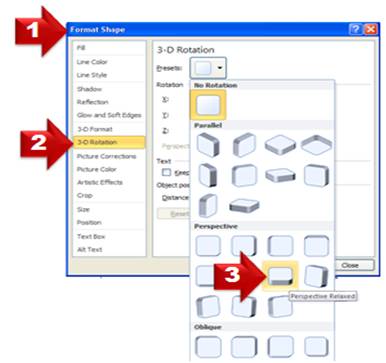 The result will be as follows:
 Go to ‘3D format’ tab and add a depth of 10 pts to the group as shown here:
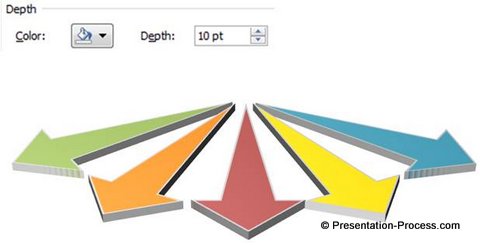 The next step is to add bevel to the top surface of the graphic. For this, go to ‘top’ surface and choose the bevel preset called ‘Cross’. To give the graphic a more realistic look, add shadow preset called ‘Offset centre’. The result will be as follows:
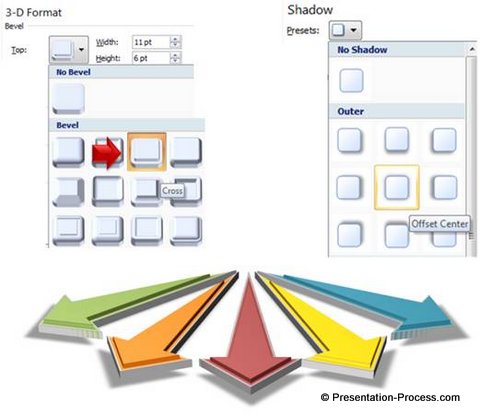 Finally, when you add some design elements like glossy ball and relevant text, you create an attractive diagram template as shown below:

Variations of 3D arrows in PowerPoint:
We wish to show you some interesting variations of 3D arrows in PowerPoint taken from our PowerPoint Graphics and Concepts Templates pack for CEOs – Volume 2. The CEO pack Volume 2 has more than 815 premium charts, graphics and diagrams to help you visualize every business idea imaginable. Let us see some variations:
The following diagram template uses 3D curved arrows:
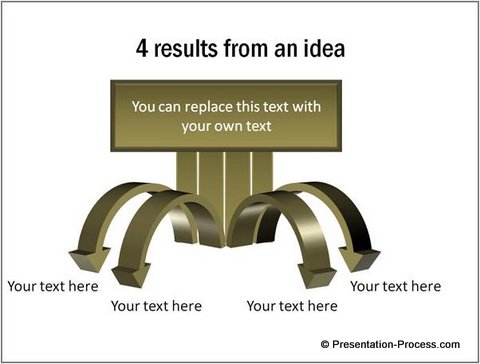 In the following diagram template we used curved arrows in 2D to give the illusion of 3D graphic:
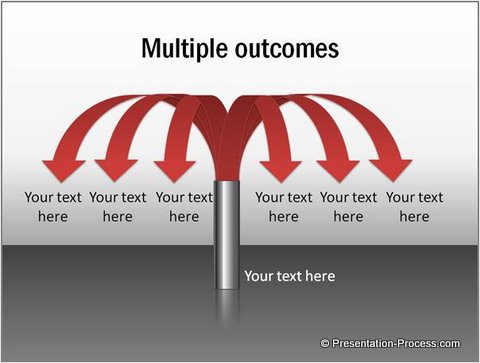
Source: Cause and Effect models from CEO Pack 2
Here are some variations of the curved arrows showing multiple outcomes:
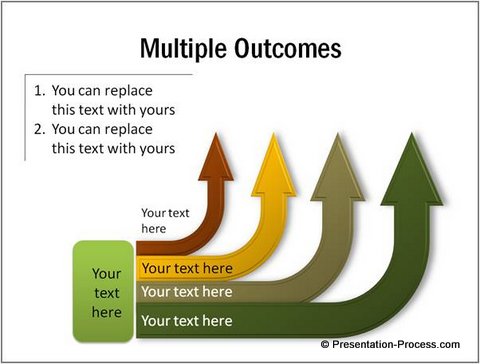 The following set of arrows have bevel applied on them:
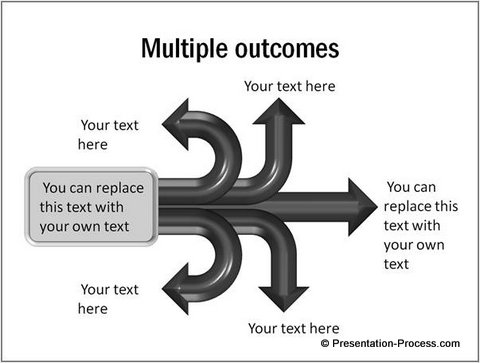
Source: Cause and Effect models from CEO Pack 2
Creating good quality graphics is a time intensive effort. Most business presenters are too busy to invest the time needed to create professional looking graphics themselves. That is why we came up with our PowerPoint charts and Diagram templates packs for CEOs.
The two CEO packs help you create great looking presentations with minimal effort. Just choose the template that matches your thought. Replace the sample text with your own text and your business presentation get ready in no time.
Why waste time creating your graphics and diagrams from scratch when you can invest the time in creating better content instead? Please browse through our diagrams collection and see how our CEO packs can change the way you create your business presentations forever.
![]() If you liked this article, please leave a comment below. There are 170+ such advanced tutorials in PowerPoint available on this site. You can find them in this section.
If you liked this article, please leave a comment below. There are 170+ such advanced tutorials in PowerPoint available on this site. You can find them in this section.
Related: Tutorial for Segmented Arrow Diagram
