
Home > All PowerPoint Tutorials > PowerPoint Shapes > Pyramid PowerPoint
Learn to create simple Pyramid in PowerPoint. Follow our easy step by step instructions to create this useful diagram for your business presentations.
The Pyramid in PowerPoint you will learn to create:

Pyramid graphic in PowerPoint is one of the most commonly used models. Whether it is Risk Pyramid, Energy Pyramid, Food Pyramid or Organizational hierarchy or Core / Mission / Vision statements you will find lots of uses for the diagram in business presentations. In this article, you will find a simple way to draw the diagram.
Step 1: Draw the base triangle
The first step in drawing the pyramid diagram is to create the base triangle. So, go to auto shapes menu and draw a triangle using ‘Isosceles triangle’ tool.

Step 2: Create the shapes that make up the pyramid
We will create the shapes that make up the pyramid using the above triangle as the base template. Without a guiding template it is quite challenging to align the shapes correctly.
Go once again to auto shapes menu and create an isosceles triangle to place on top of the large triangle as shown below:

Using ‘Trapezoid’ tool from auto shapes add a trapezium below the triangle you just created. First, make sure that the base of the trapezium matches the two sides of the triangle. Then, move the yellow diamond handle on the top edge of the trapezium to align the angles.

Follow the same procedure to create more trapezoid shapes to complete this shape:

Step 3: Add the finishing touches
Apply quick style of your choice to differentiate the layers of the pyramid. Add white outline to demarcate the layers clearly:

You can choose to add sheen effect to the pyramid to make it appear more interesting. You can also add some reflection to the bottom trapezoid to make the diagram appear three dimensional. When you add relevant text and title, you complete the pyramid PowerPoint tutorial and get the following result:

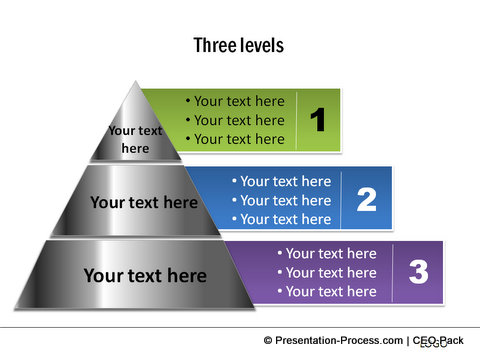
You can choose to move the diagram to one side and add text boxes to create the following variation:
Once you get the base technique, you can create the diagram with as many layers as you need.
Related: Easy 3D Cone shape
Smarter option for business presenters:
It takes a lot of time and effort to visualize and create professional quality graphics and diagrams from scratch. Most business presenters don’t have the time to create such high quality graphics for themselves. That is why we came up with our PowerPoint Charts and Diagram templates packs for CEOs.
The two CEO packs have more than 1600 premium charts, graphs, graphics and diagrams to help you visualize every business idea imaginable. Just choose the template that matches your thought and replace sample text with your own text. Your business slides get ready in no time. Creating professional quality business slides has never been easier.
Here are some examples from the bundle:
Octagonal 3 Step Pyramid PowerPoint CEO Pack 2


Source: Marketing Diagrams from CEO Pack 2
3 Level Pyramid Chart with details from CEO Pack 1
Cone with multiple steps from CEO Pack 1

Source: Pyramids from CEO Pack 1
Why waste time creating your graphics and diagrams from scratch, when you can invest the time in building better content? Please browse through our diagrams collection and see how the CEO packs can change the way you create your business presentations forever.
If you found this article useful, please leave us a comment below. You can find 200+ Advanced PowerPoint Tutorials on this site.
Related: SWOT Analysis charts Tutorial