
Home > All PowerPoint Tutorials> Spiral Model Template
Create Spiral Diagrams in PowerPoint easily. Follow our step by step instruction to draw this useful diagram accurately and quickly.
The spiral model you’ll learn in this tutorial is:

Although the diagram may appear straightforward, creating it in PowerPoint can be quite challenging. However, this tutorial will guide you through the process of crafting the diagram in a straightforward and efficient manner. By following these steps, you will be able to produce a professional-looking diagram that effectively conveys your message.
Spiral life cycle model or Incremental model:
The Spiral or Incremental Model is a widely used approach in software development. This model involves designing, implementing, and testing the product incrementally until it is completed. As it follows the philosophy of iterative development, it is also known as the prototyping model.
Although this model is primarily designed for software development, its principles can be applied to various management and strategic presentations. Therefore, we have provided step-by-step instructions on how to create this valuable model.
Without further ado, let us begin...
1. Draw a set of semicircular arcs
One of the easiest ways to create a spiral diagram is by drawing and merging semi-circular arcs. Here's how you can do it:
First, go to the Auto Shapes menu and select the Arc tool.

Arc Tool Menu in PowerPoint
Then, extend the yellow handles until you create a perfect semi-circular shape. To test the shape, draw a flat line and place the arc on top of it.

Arc for Spiral
It's important to get the arc in a proper semi-circular shape for the accuracy of the diagram. Once you have the shape right, make seven copies of the shape apart from the original one.
Next, select an arc and go to the Format ribbon. Enter the height and width as 0.75 each. This will create a semi-circular arc with a diameter of 0.75pt.

Set height for the arc
Repeat this process for arcs with diameters of 1.5, 2.25, 3.0, 3.75, 4.5, 5.25, and 6.0pt. Once you have all the arcs, select them all and go to Arrange -> Align -> Align Centre and Align Middle. This will give you a perfectly aligned spiral diagram.

Multiple Arcs for Spirals
2. Group alternative arcs and flip them vertically
The next step is to select alternative arcs and color them red using ‘Shape Outline Color’ option.

Colored Arcs for Spiral Model
Now, group the red and black arcs separately. Select the ‘black arcs’ group -> Arrange -> Rotate -> Flip Vertical. You will get the following result:

Diagram after flipping the arcs
Select both the groups -> Arrange -> Align -> Align Right. Change the Shape Outline Weight to 3 pts. Your spiral chart is ready:
PowerPoint Spiral Model Tutorial
You may also be interested in the tutorial for creating a Venn Diagram and see some creative examples of the diagram here >>
Application of the diagram:
You can add an arrow head to the last semi circle of the Spiral Model and place it inside a wheel diagram to indicate spiraling process as follows:

Source: Editable PowerPoint Spirals from CEO Pack 2
Or you can use the diagram just created as part of segmented wheel like this:
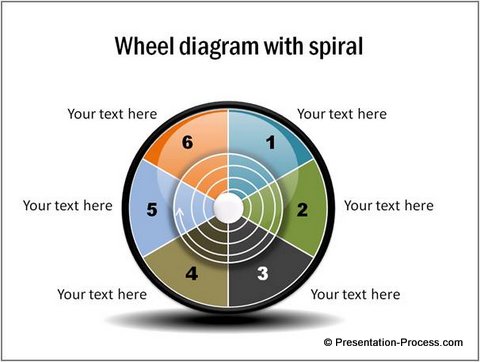
Source: PowerPoint Spirals | CEO Pack 2
You can add an arrow tip at the end of each semi-circle and use the spiral model in a four-quadrant chart as follows:

The application of the diagram is limited only by your imagination.
Related: Tutorial to create Elegant Calendar in PowerPoint
More Diagram options for business presentations:
Models like the one you learned in this article are essential for any business presenter to communicate their business messages effectively. But, not all business presenters have the time to create these diagrams from the scratch.
That is why we came up with our ‘PowerPoint Graphics, Concepts & Models CEO Pack 2’ – which has 815+ high quality, fully editable PowerPoint templates for busy business presenters like you. Please take a look at some of the samples from the pack:
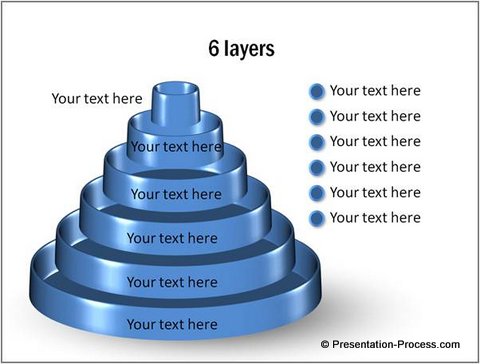
Circular Cone Diagram
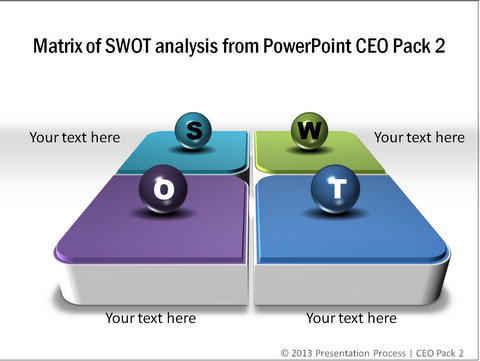
SWOT Analysis Diagram
3D Venn Diagram

You just need to copy the diagrams from the pack to your slides and replace sample text. Your professional presentation gets ready in minutes. It is a smart way to utilize your valuable time.
About PowerPoint CEO Pack 2
Please browse through our templates collection and see how the pack can change the way you create presentation slides forever.
Related: 2 Interesting Circular Arrow Alternatives in PowerPoint
Related: Create An Eye-catching Spiral Chart in PowerPoint